App partner implementation guide
In this section, we look at sample screenshots for an experience that BILL customers can go through in the BILL app partner integration.
Step 1: Customer onboarding
Customer enablement begins on the BILL app partner application. Begin with displaying a Call To Action (CTA) in the application to inform the customer that they can connect their BILL account with the application.
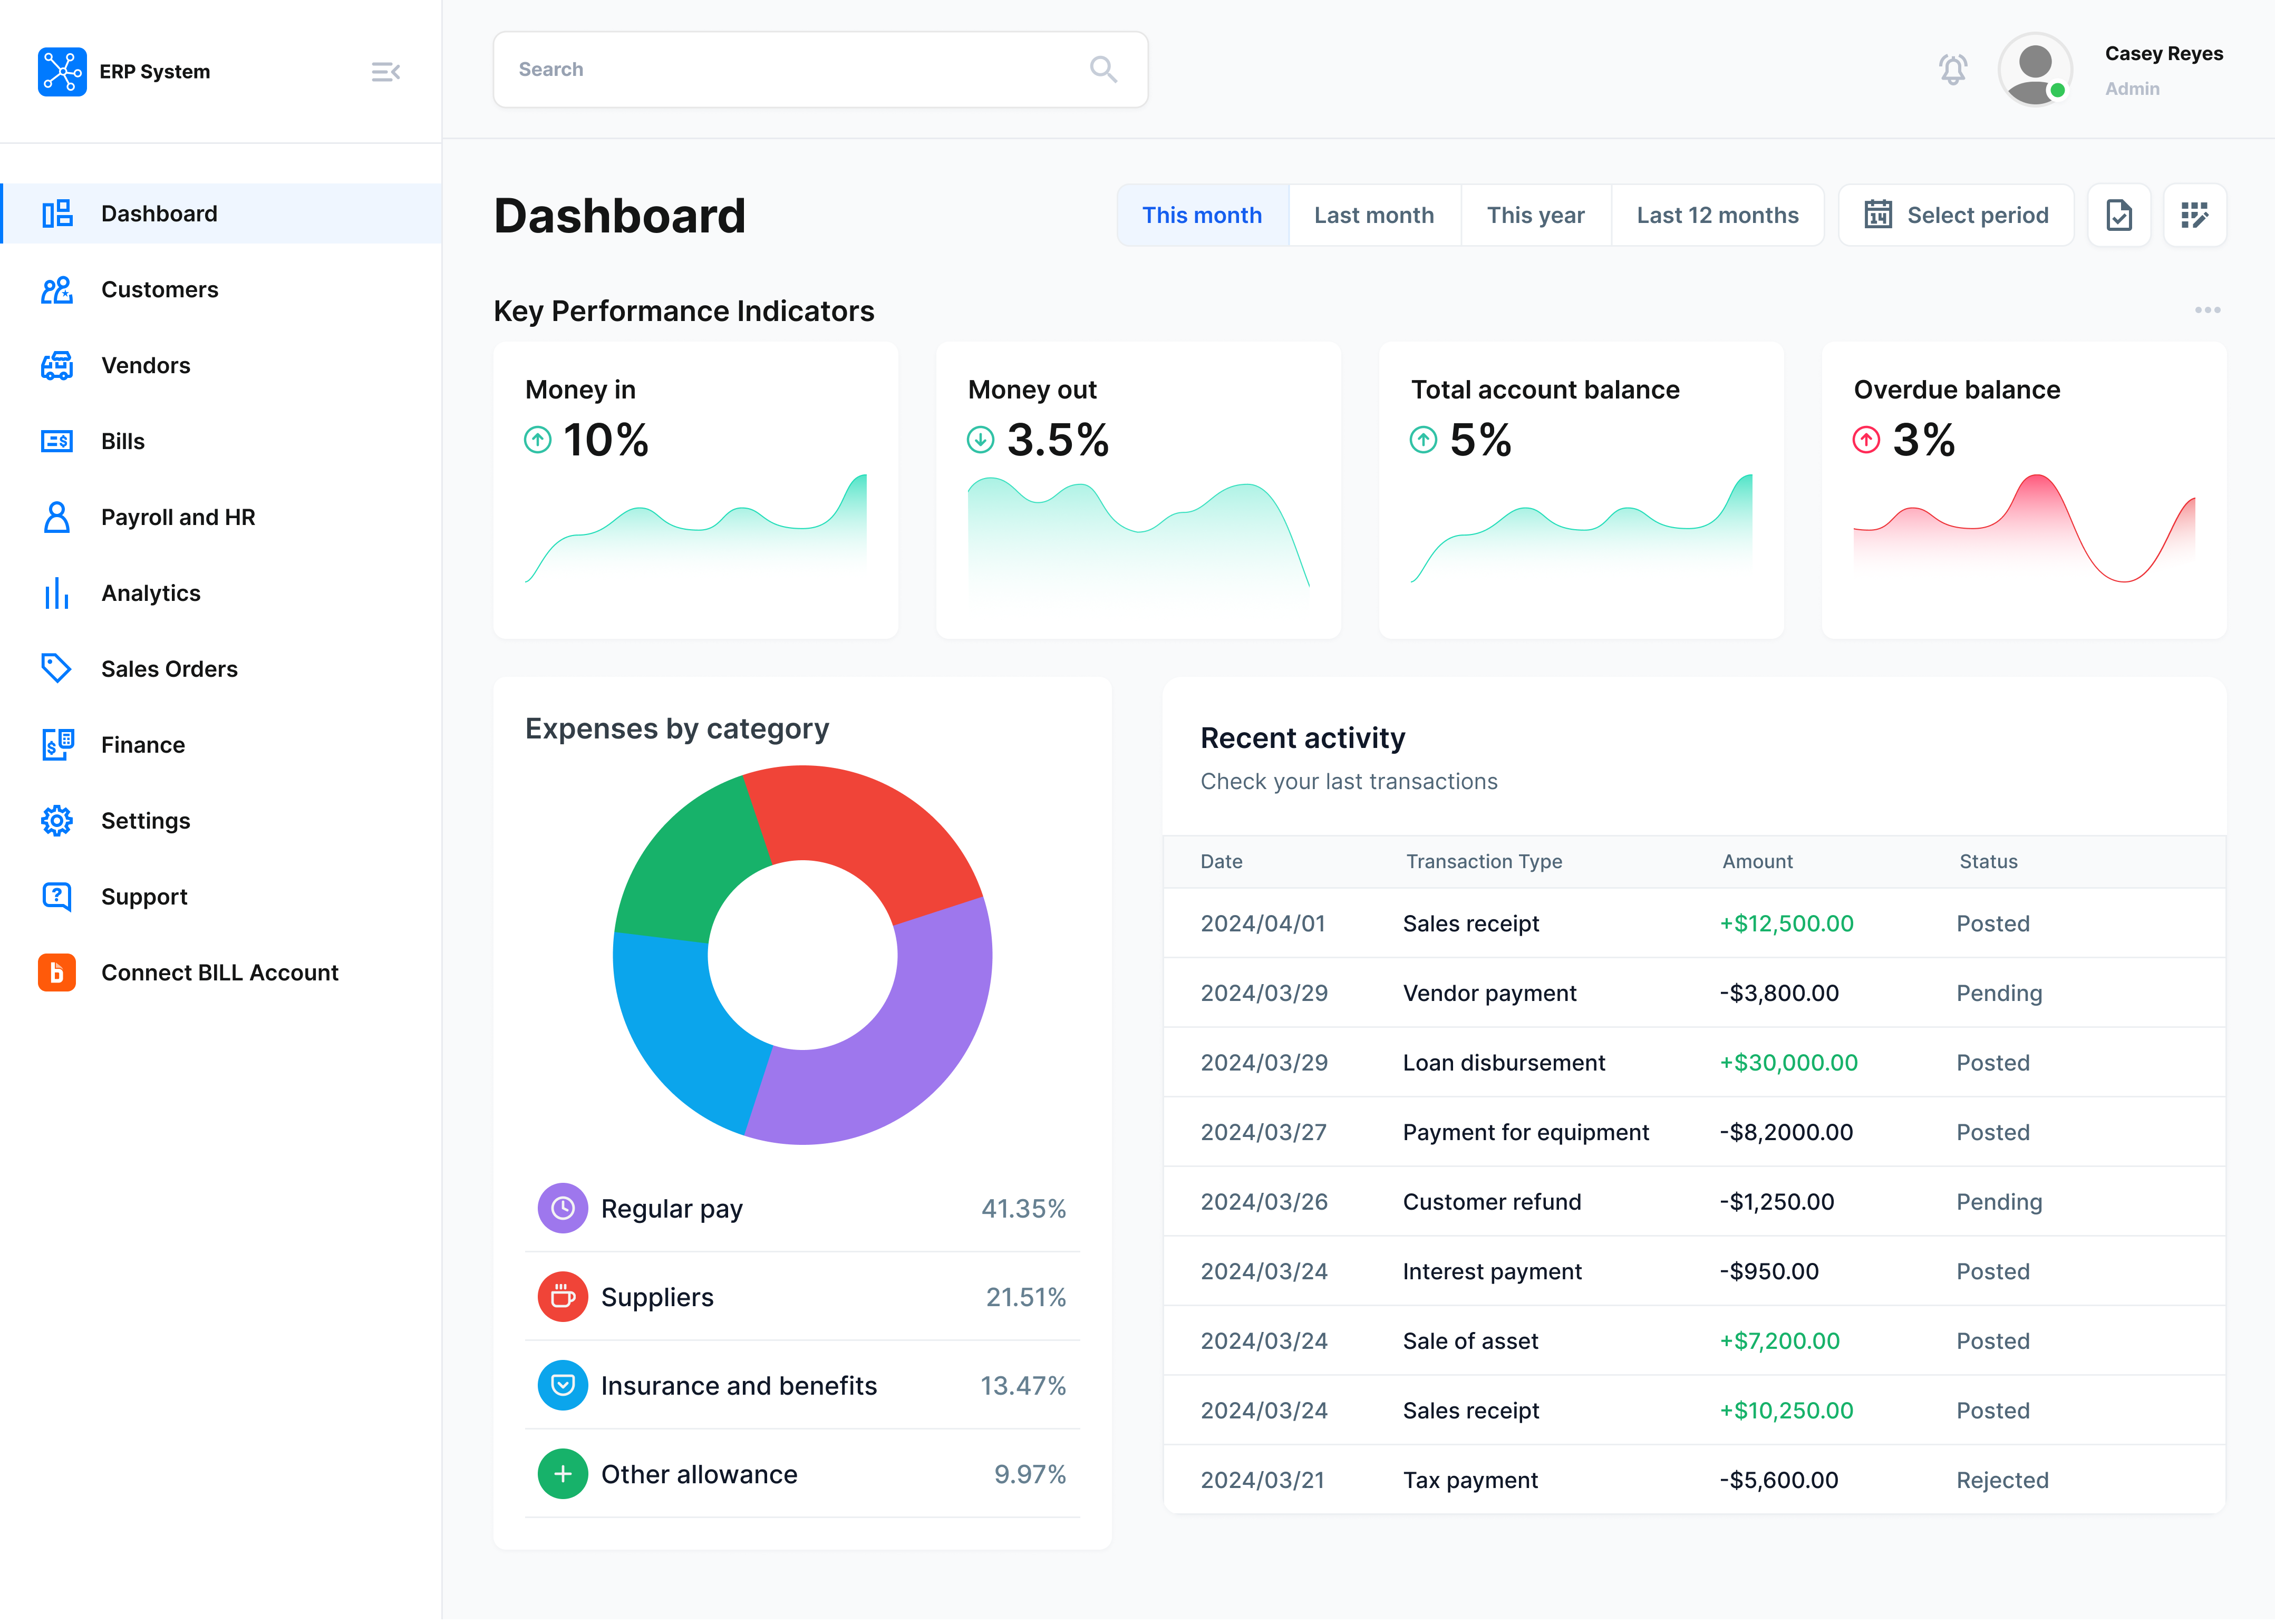
Connect BILL Account option in the left navigation menu
Present the customer with clear instructions on what they will need before connecting their BILL account. Since the customer information takes only a few minutes to get, we recommend that you do not hide the instructions due to inactivity.
This step is in your applicationThis step must be in the application. No integration to BILL is required at this point.
Step 2: Customer sync token
Display instructions for the customer to follow for getting the information they need from their BILL account. Display a form for the customer to enter the information.
| Information | How does the customer get this information? |
|---|---|
| Sync token name | Sign in to the BILL account, and navigate to Settings > Sync & Integrations > Tokens. |
| Sync token | Sign in to the BILL account, and navigate to Settings > Sync & Integrations > Tokens. |
| Organization ID | Sign in to the BILL account, and navigate to Settings > Sync & Integrations > Manage Developer Keys. The organization ID is at the bottom of the page. |
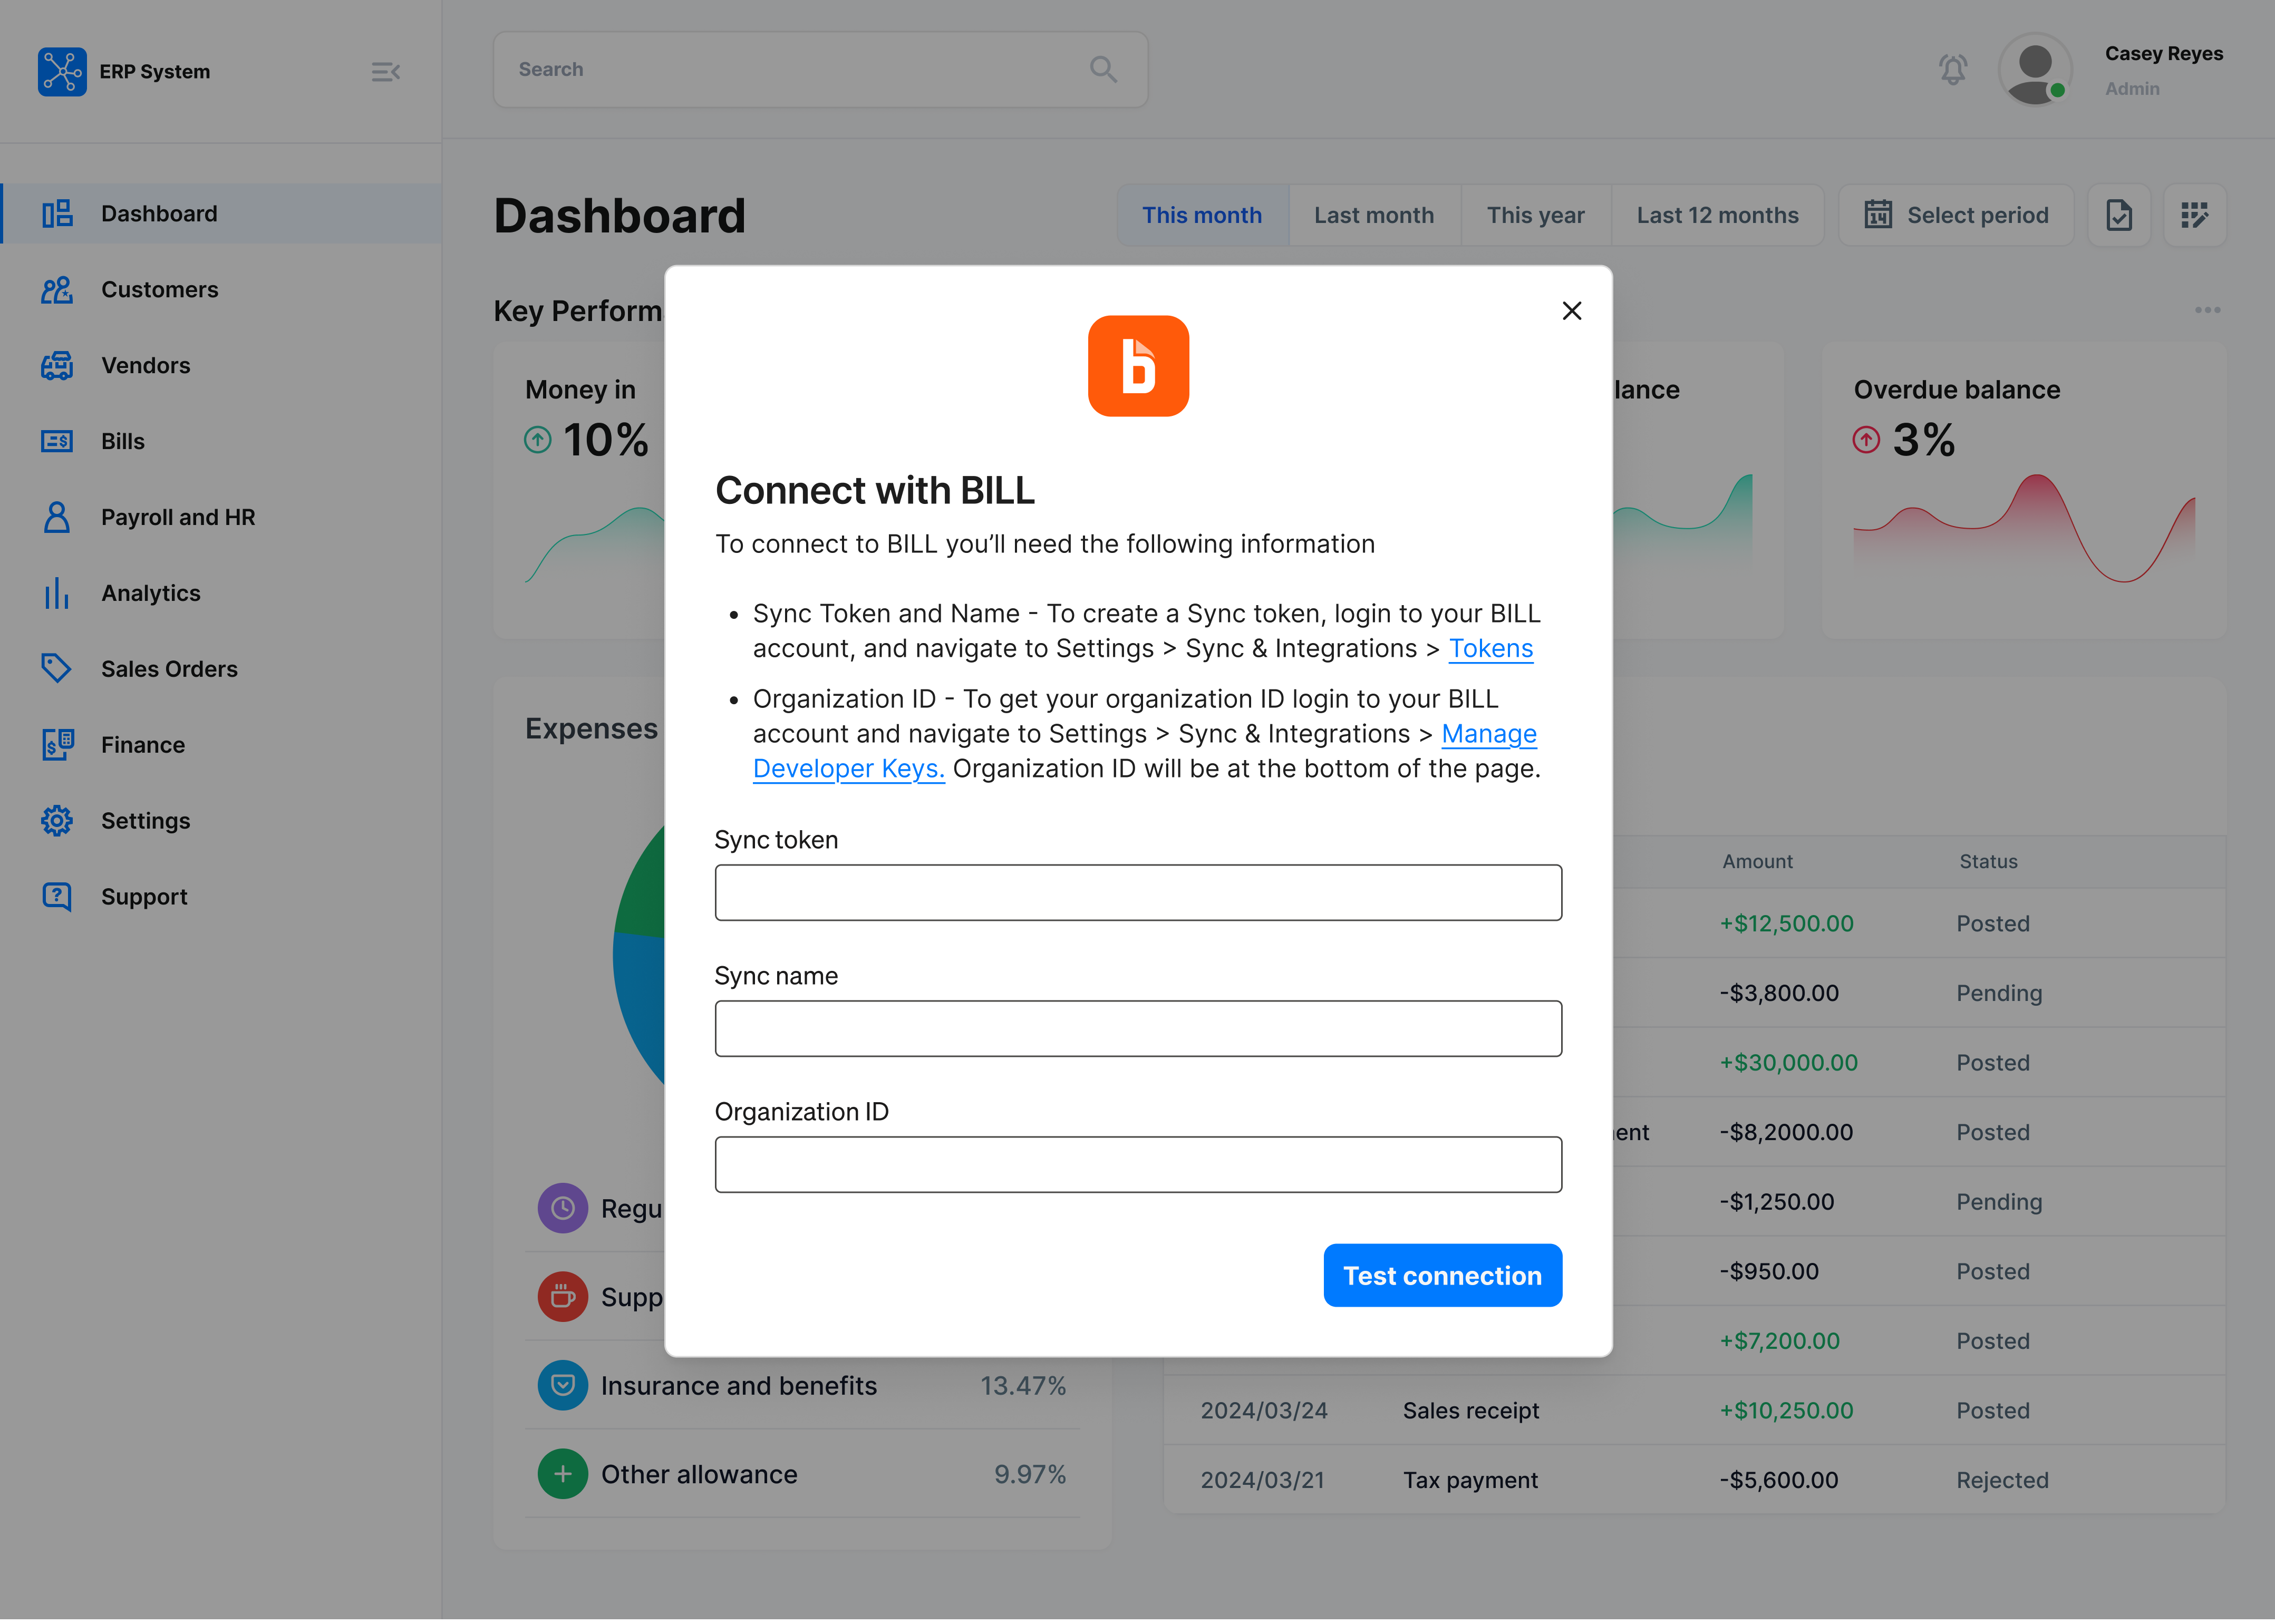
Display instructions for the customer to follow
When the customer submits the required information in the form, complete these best practices.
Save customer information
Save the customer information in your system in a secure manner. This information will be required to authenticate the customer and to sync customer data.
API login
Complete API login with the BILL v3 API. In the request, use the customer information and your developer key.
curl --request POST \
--url 'https://gateway.stage.bill.com/connect/v3/login' \
--header 'content-type: application/json' \
--data '{
  "username": "{customer_sync_token_name}",
  "password": "{customer_sync_token_value}",
  "organizationId": "{customer_organization_id}",
  "devKey": "{app_partner_developer_key}"
}'
Successful response: When you get an HTTP 200 response, a generated sessionId is available for the customer. Information the customer on the successful connection status in the application. Direct the customer to the next step in the integration flow.
{
    "sessionId": "{session_id}",
    "organizationId": "{customer_organization_id}",
    "userId": "{customer_user_id}",
    "trusted": false
}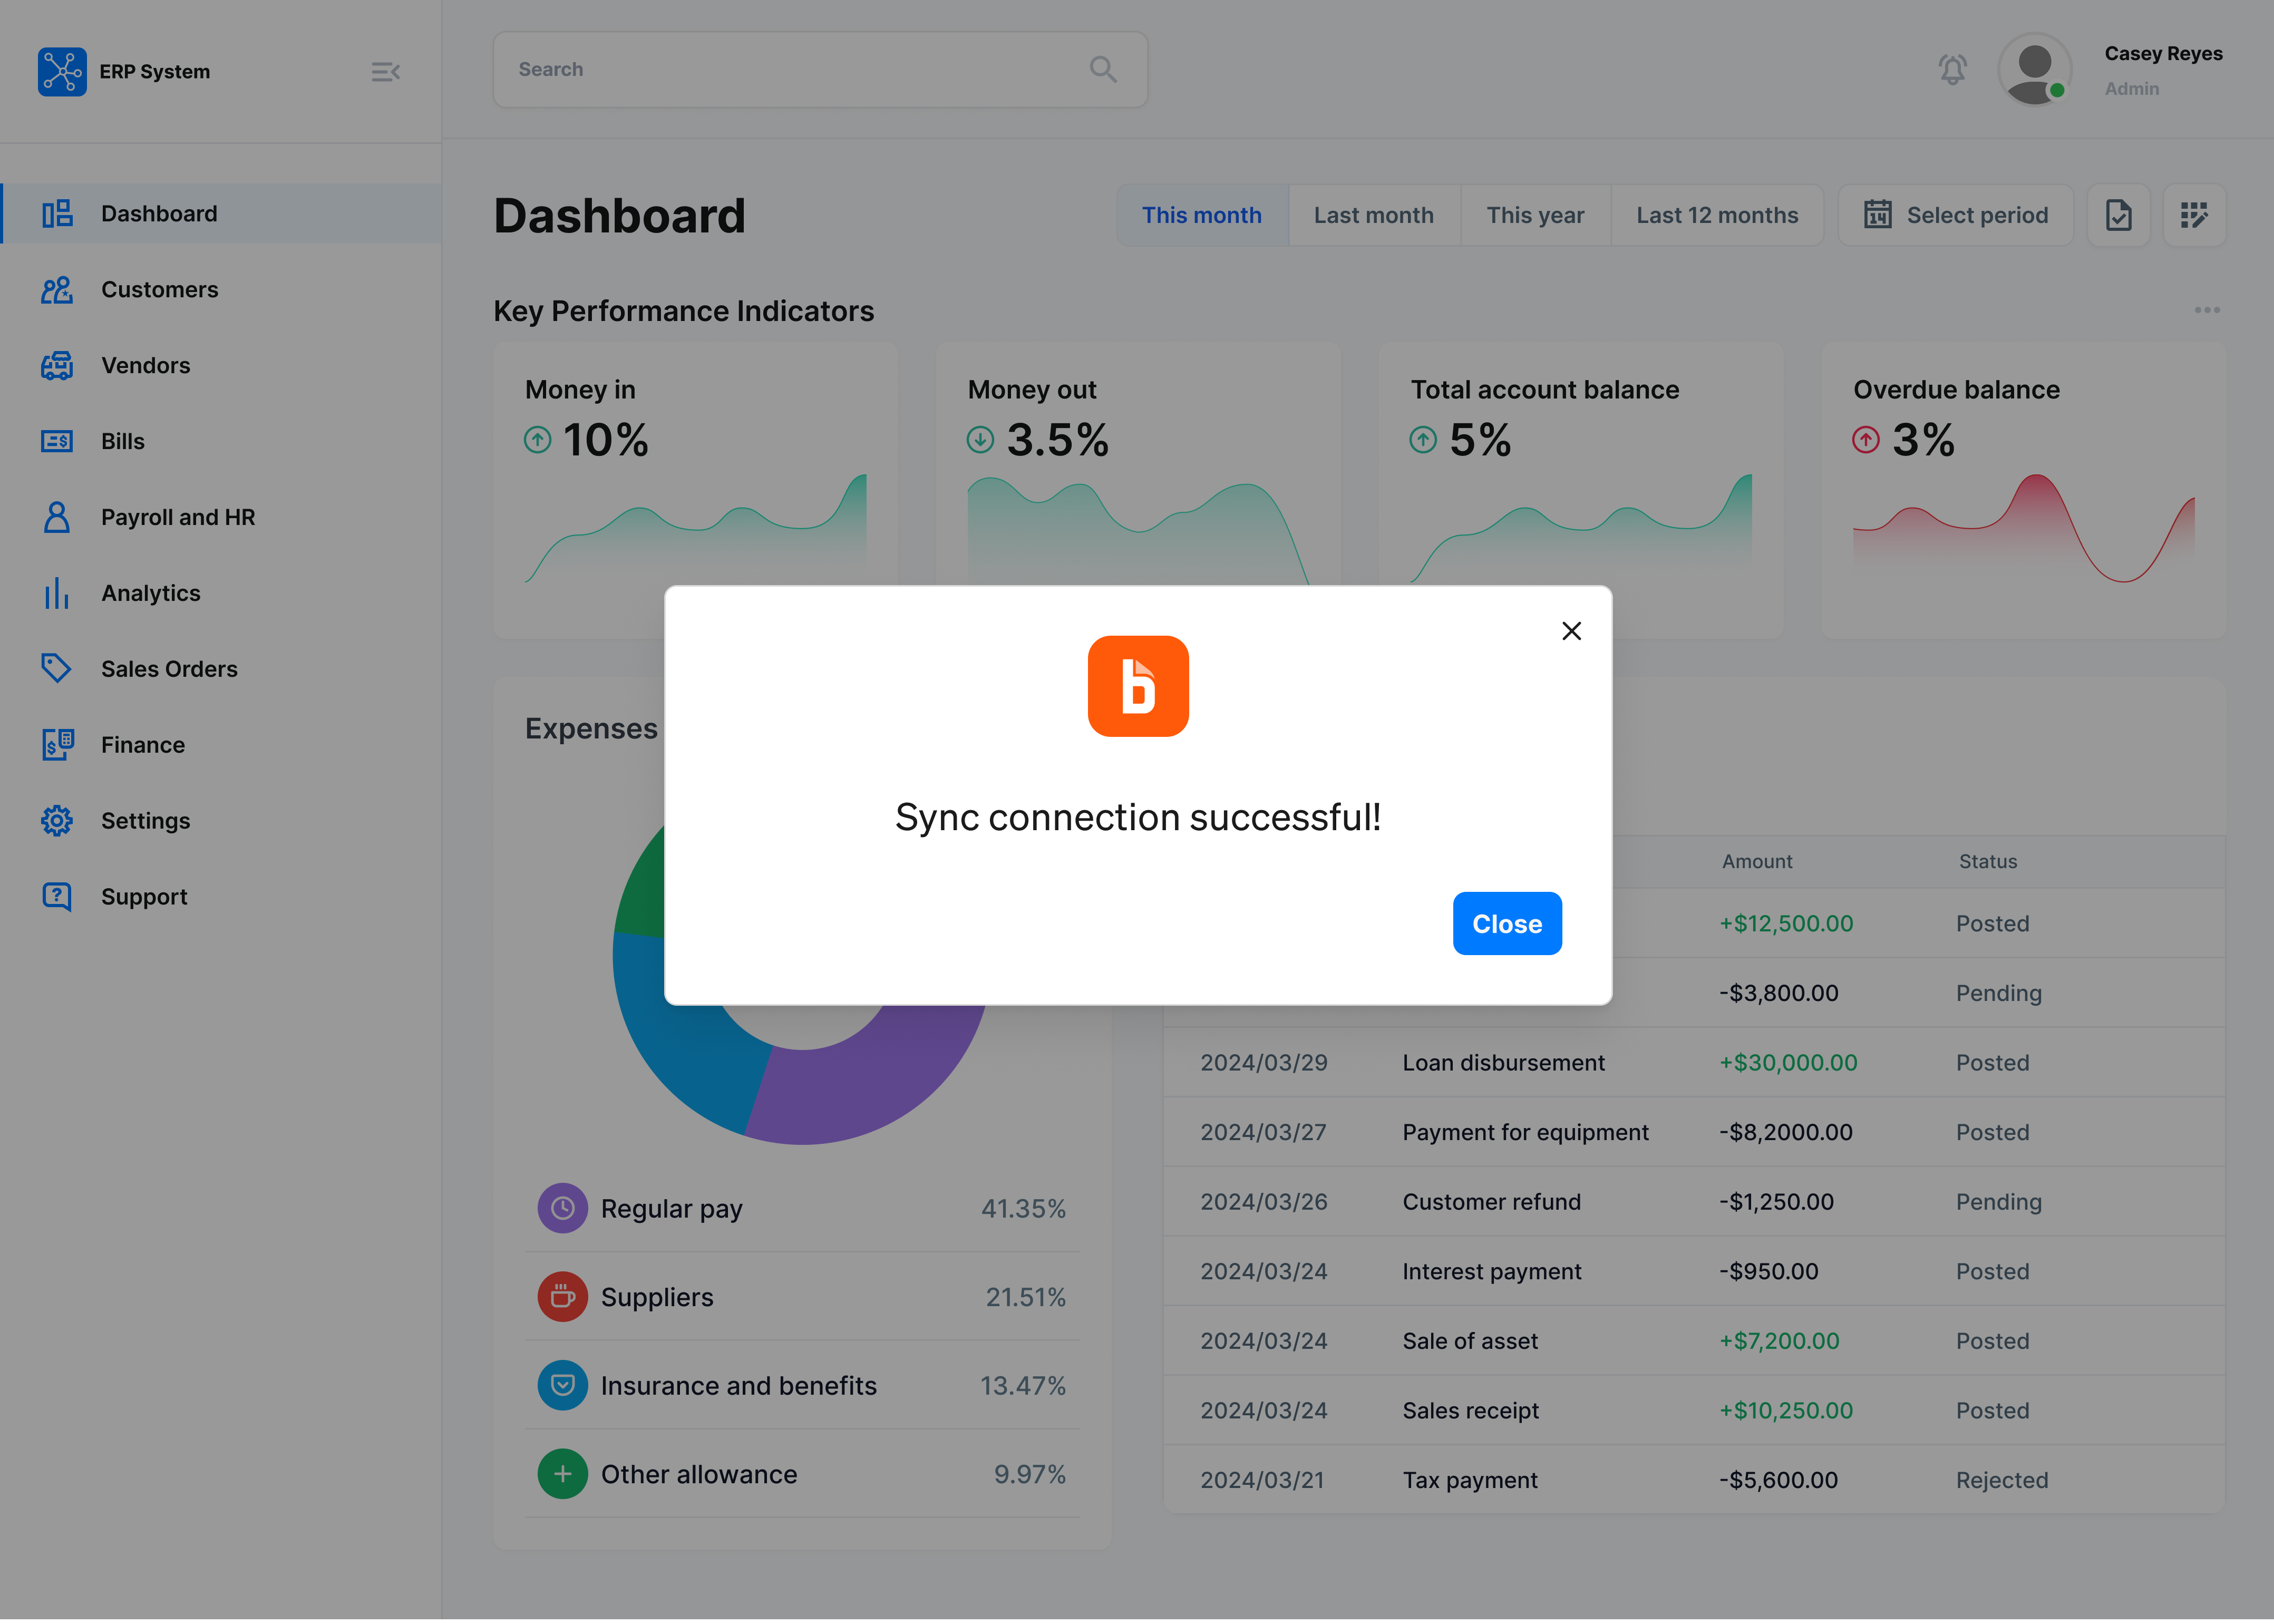
Return the customer connection status in the application
Error response: When you do not get an HTTP 200 response, direct the customer to the same form to enter the correct sync token name, sync token, and organization ID.
Step 3: Sync preferences (Optional)
We recommend that you inform the customer about the data that will be synced between the customer’s BILL account and the BILL app partner integration. In addition, inform the customer about when the sync will be scheduled for the customer.
In addition, you can provide the customer with the option to select the data for sync.
Build your own logic for providing the option to select the data for syncBILL does not provide an API for selecting the data for sync. The BILL app partner must build their own logic for providing the customer with the option to select the data for sync.
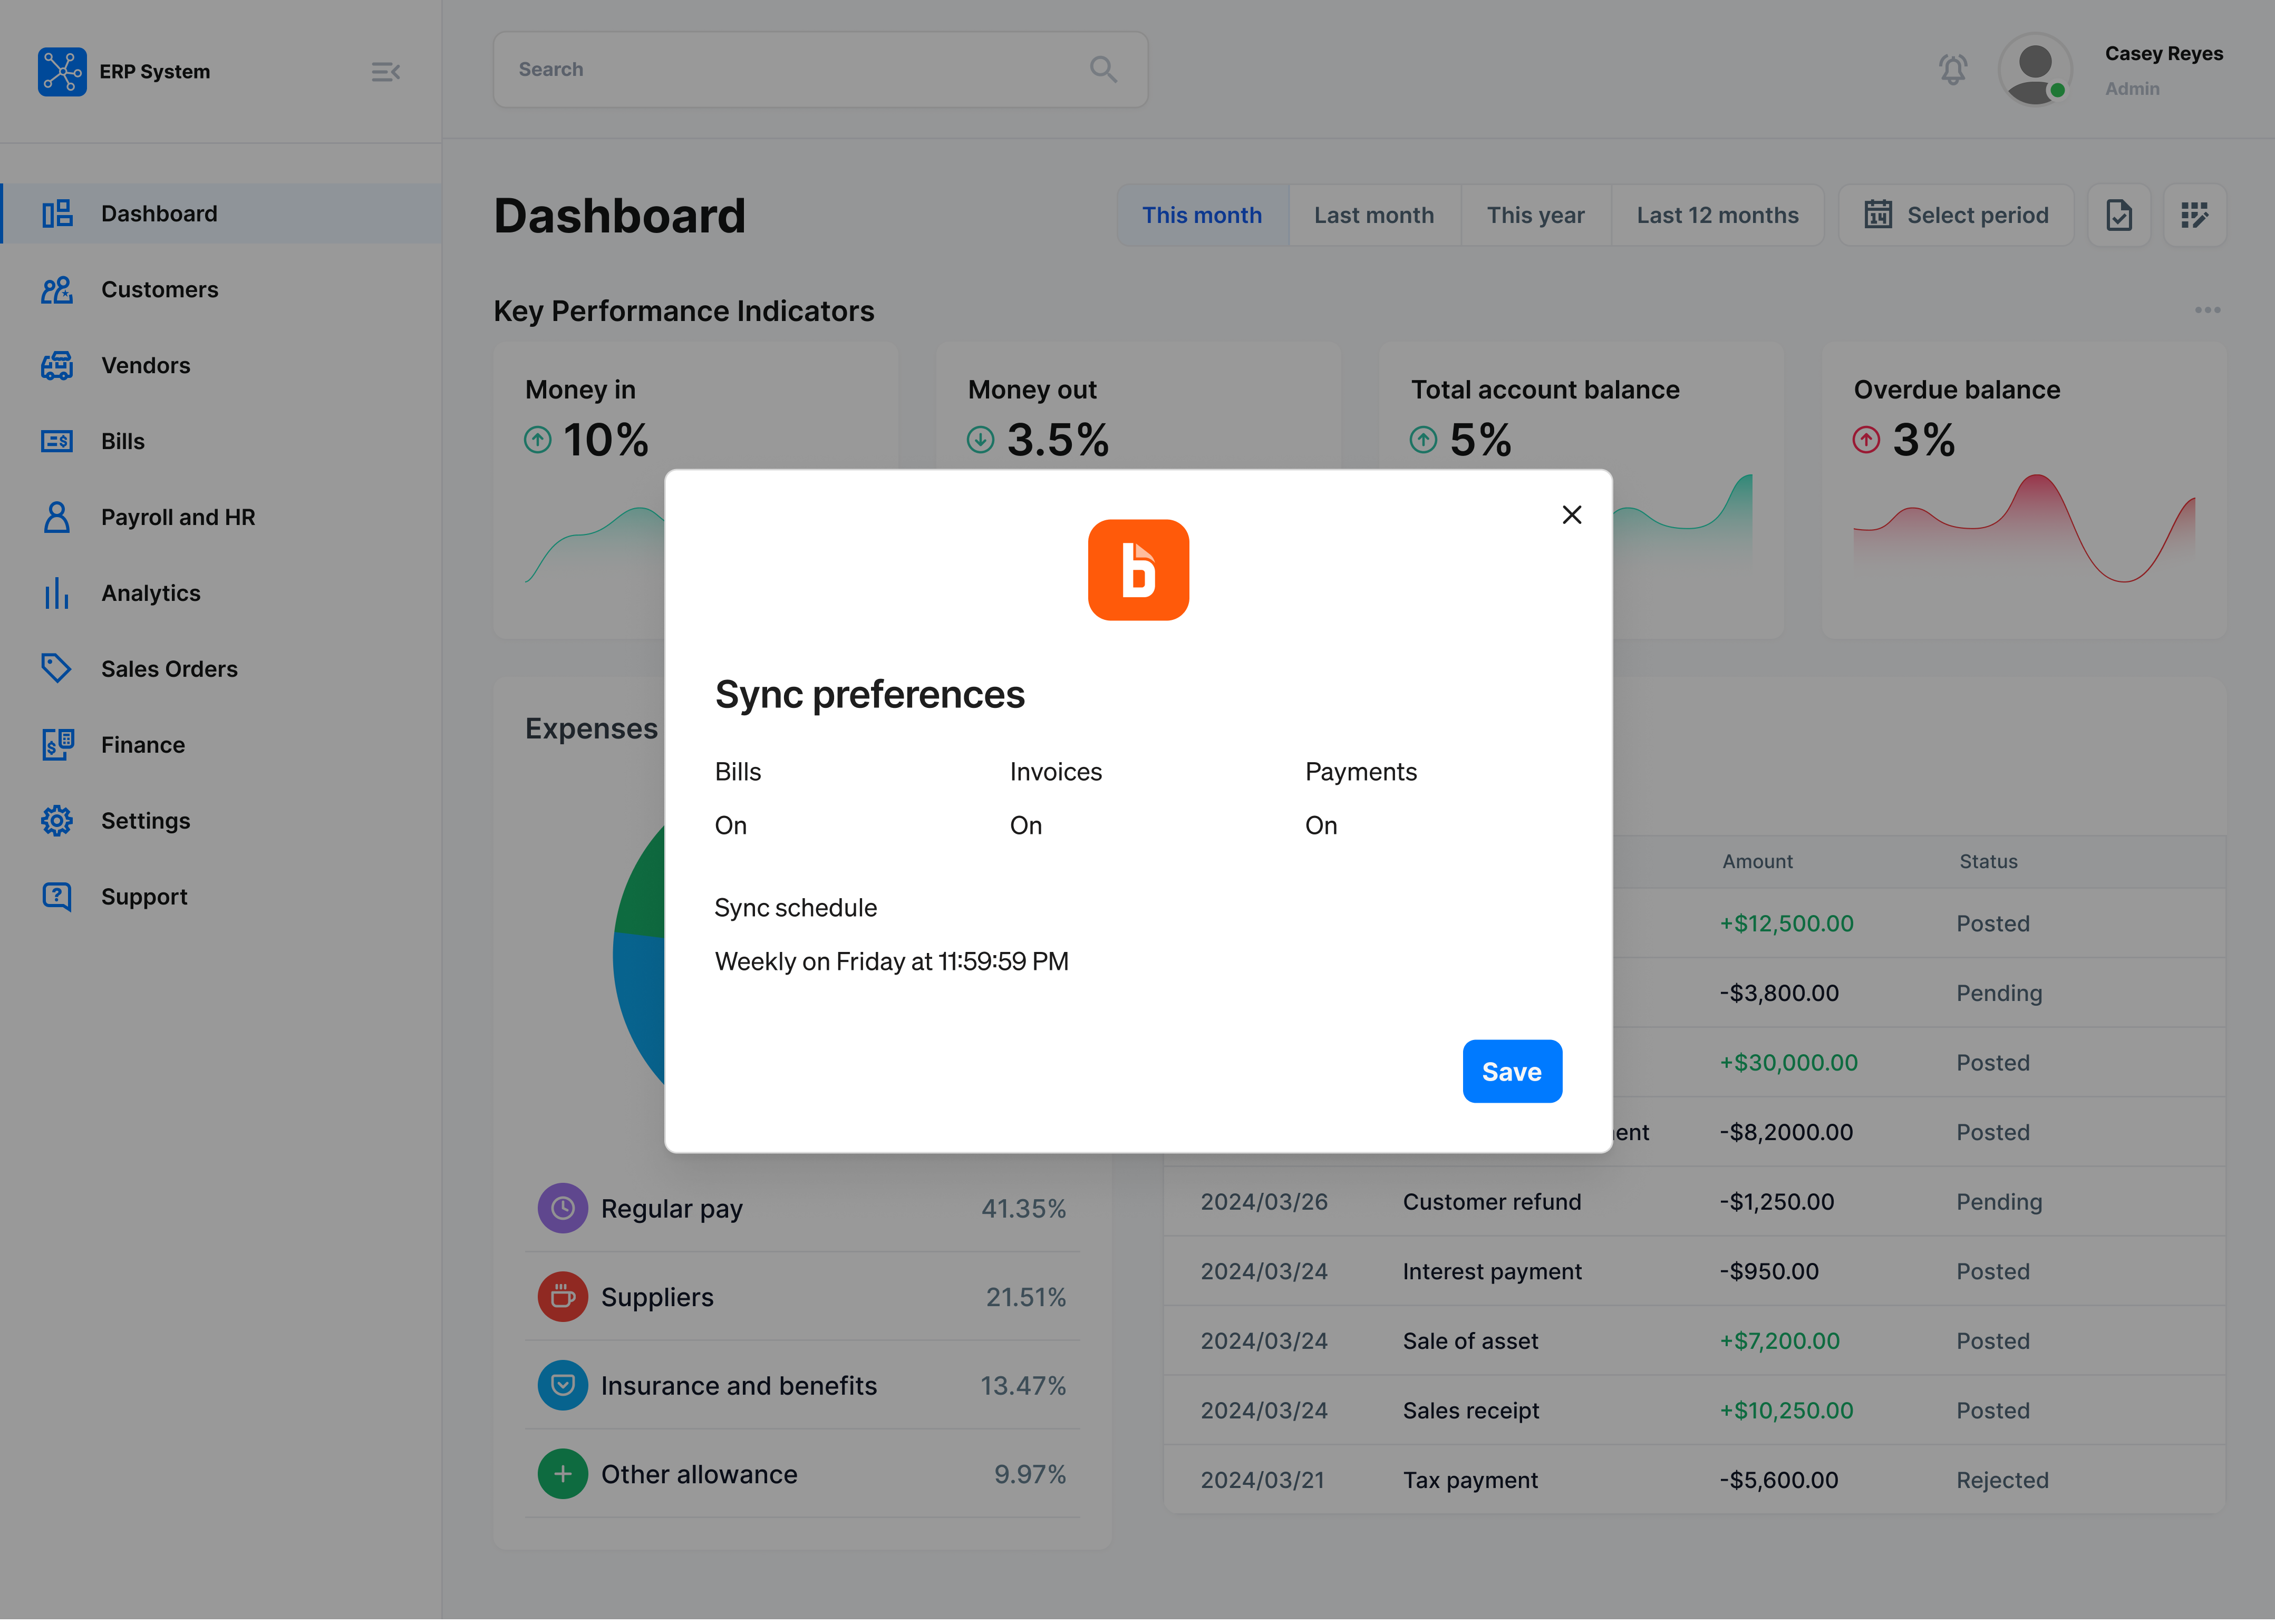
Customer sync preferences and sync schedule
Step 4: Sync customer data
When the customer confirms the sync process, the setup is complete. You can now make list API requests to get information from the customer’s BILL account.
Begin with API login with the BILL v3 API and generate a sessionId. Use the generated sessionId in all your subsequent v3 API requests.
curl --request POST \
--url 'https://gateway.stage.bill.com/connect/v3/login' \
--header 'content-type: application/json' \
--data '{
  "username": "{customer_sync_token_name}",
  "password": "{customer_sync_token_value}",
  "organizationId": "{customer_organization_id}",
  "devKey": "{app_partner_developer_key}"
}'
See AP & AR sync token permissions to learn about the v3 API operations available with the sessionId. For example, with the GET /v3/bills API request, get the list of bills in the customer’s BILL account.
curl --request GET \
--url 'https://gateway.stage.bill.com/connect/v3/bills' \
--header 'content-type: application/json' \
--header 'devKey: {app_partner_developer_key}' \
--header 'sessionId: {session_id}'
Security and technical requirements
In this section, we state the security and technical requirements from your BILL app partner integration.
Save customer information
The BILL app partner devKey and all the customer sync token information must be securely stored in an encrypted vault or in a secret manager on the BILL app partner server.
Session management
You must cache the sessionId for each customer.
When you login with POST /v3/login, a generated sessionId is available for the customer. This sessionId expires when it is inactive or idle for 48 hours. If you receive a 401 Unauthorized error response, the session has likely expired. At this point, login again with POST /v3/login and generate a new sessionId.
Managing multiple customers
Your application must store the sync token information and organizationId for each customer. Your server is responsible for managing a unique sessionId for each customer.
API rate limits
See API rate limits to learn about the v3 API rate limits.
Support content
To help drive a successful launch, we recommend that you create supporting documentation in the online help center. The documentation should be a walkthrough for customers to know what to expect before going through the sync process.
Digits.com is a BILL app partner. See Connections in the Digits Help Center to see a live example of supporting documentation.
Updated 6 months ago